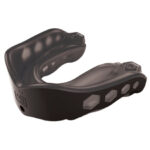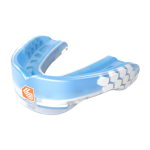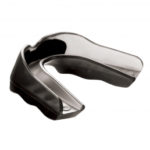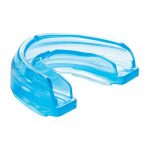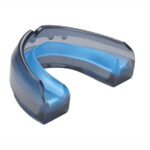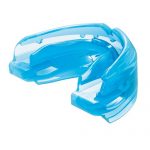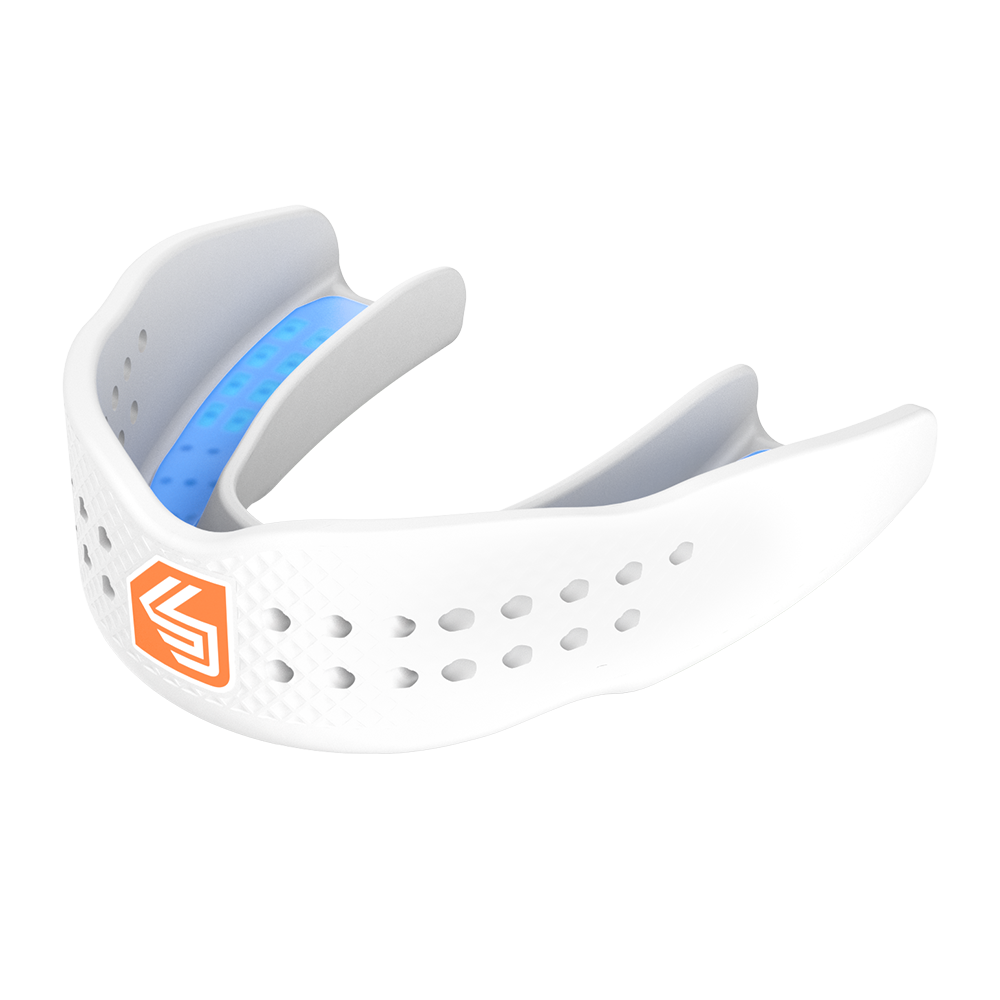
Designed for athletes who need protection without losing their voice, the Shock Doctor SuperFit All-Sport Mouthguard delivers elite-level comfort, airflow, and impact defence in a slim, low-profile design.
Built with InVent™ technology, it actively increases airflow so you can breathe easier and communicate clearly during fast play—whether you’re calling a set, directing defence, or reacting under pressure. The streamlined Superfit design reduces bulk without compromising protection, making it ideal for basketball and other high-contact sports where speed and communication matter.
The Gel-Fit™ liner moulds to your teeth for a secure, custom-like fit, while shock-absorbing gel windows help disperse impact forces through the jaw for added protection. Its Bio-Fit chassis is shaped to match natural dental alignment, supporting stability and comfort throughout performance, with MORA-based design principles that may support improved jaw positioning and athletic output.
A low-temperature moulding process makes fitting simple at home—no boiling required—while the finished fit stays locked in during intense movement.
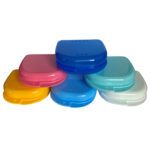
Each mouthguard also includes a protective storage case for hygiene and convenience between games and training sessions.
Latex free, BPA free, and phthalate free.
Fitting Instructions (Warm Water Mould & Fit)
Important: This mouthguard has a very tight, close fit. The material becomes soft and putty-like when heated, giving you time to shape it properly. Take your time and do not rush.
1. Prepare the water (60°C / 150°F)Heat 450 ml of water to 60°C (do not boil).
- Either:
- Heat in a saucepan and transfer 350 ml into a heat-safe cup, or
- Heat 450 ml in a microwave-safe container, then remove approx. 100 ml to cool.
- The water should be around 60°C (indicator strip = green/gold, ~58–60°C).
- If needed, add small amounts of room-temperature water to adjust temperature.
- Remove temperature strip before inserting mouthguard (a thermometer may also be used).
2. Soften the mouthguard
- Fully submerge the mouthguard in the warm water, face-up.
- Leave for 35–45 seconds.
- After ~30 seconds, gently lift or move it with a spoon to prevent sticking.
- You will notice the sides and front begin to relax and soften.
3. Position and mould (DO NOT RUSH)
- Remove carefully — it will be very soft and flexible.
- While facing a mirror:
- Centre and align the mouthguard on your upper teeth.
- Press the inner rim firmly against the back of the front teeth and roof of the mouth.
- Push up along all teeth, then gently bite into the front channel. Do not bite hard.
- Clench lightly and evenly while sucking in air to create a vacuum.
- Use fingers to press the outside of the guard against teeth and gums.
- Continue pressing cheeks and lips inward to shape a tight seal.
4. Set the fit
- Keep the mouthguard in place for at least 4 minutes while it hardens.
- Continue gentle biting and suction during this time for best fit.
- Optional: Rinse with cold water after 2–3 minutes to speed setting.
5. Finalise & check fit
- Remove and place in ice-cold water for 3–5 minutes.
- Check fit: it should feel tight, secure, and stable.
6. If you need to refit
- Repeat the process if needed.
- Reheat in 60°C water for 30–35 seconds and mould again.